In this series, we have been looking into what ServiceNow is and what things come together to form an application. Today we will start with the first building block of the many mentioned in the previous blog. ServiceNow holds the application as metadata of the complete application that indirectly converts to the database tables. For the end users, it is an easy-to-access representation of this database. When we say application here it means a package or the usage. For e.g. Car parking application, Library management application, etc.. These are the packages that keep all the things belonging to the application together at a logical level.
Today we will start with creating an application for Invoice Management. There are two levels of scope while creating an application.
- Global Scope – As the name suggests this is the scope available for all the applications. We can create multiple applications under this scope and they can talk to each other (read each other’s data) easily.
- Application Scope – This is a restricted scope for the application. If we want to make an application have its own limits and package we go with creating an application scope. These applications are usually called as
Scoped Applications.
Creating an application
Let us create an update set first:
- On the homepage, we have a left navigation panel name
Allon the header. (The left navigation panel is the goto place for everything in ServiceNow) - Click on All and search “update sets”.
- Click on ‘Local Update Sets’ and click New
- Enter the name ‘Invoice Management’
- Click ‘Submit and Make Current’
This will create an update set that tracks all the configurations that we do for the application.
Now there are multiple ways how we can create an application in ServiceNow. Let us look into the simple way.
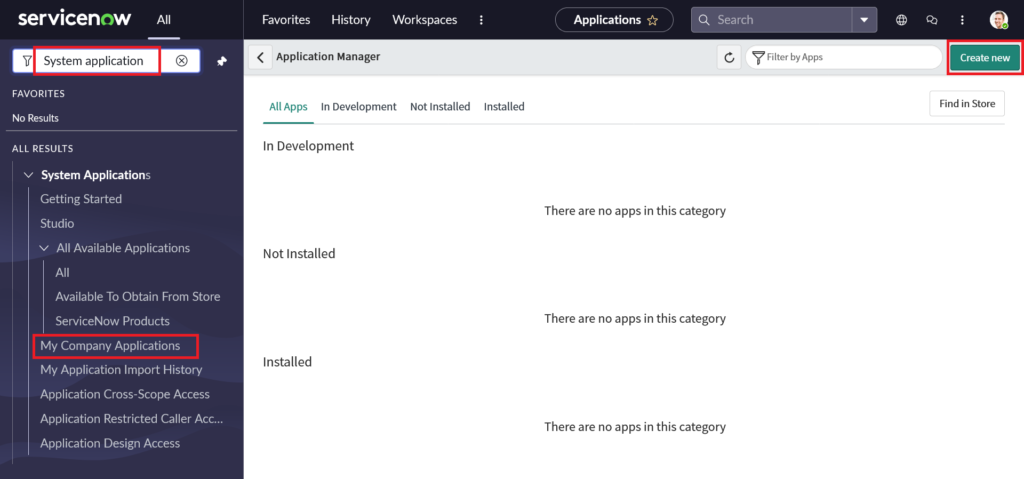
- On the left navigation panel, search for System Applications
- Click on ‘My Company applications’ and click ‘Create New’.
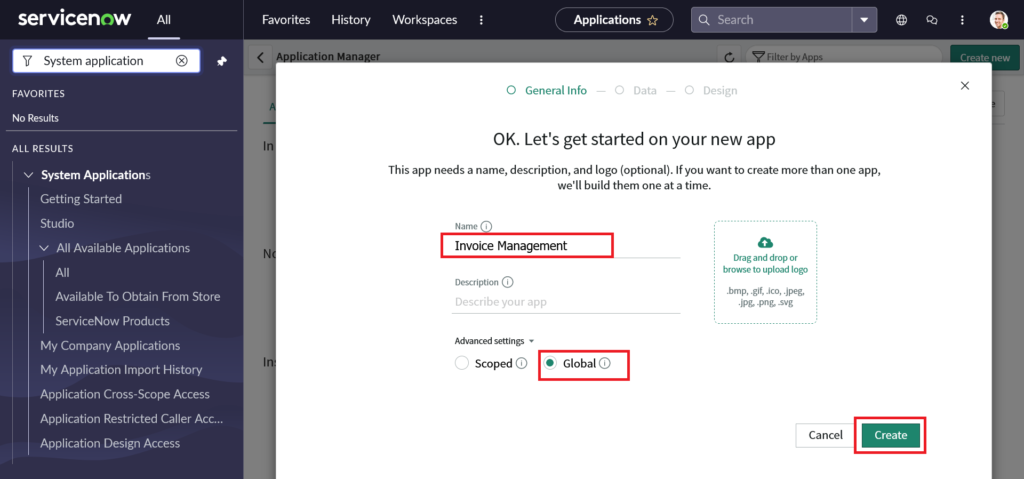
- Enter the name ‘Invoice Management’ and Select ‘Global’ under ‘Advanced settings’ then click ‘Create’
- On the next page click ‘Continue’.
- Select ‘Classic’ – Continue and click ‘Done with tables’
- Close the window by clicking ‘X’ and ‘Yes, Close’.
- On the top right click on the Refresh icon
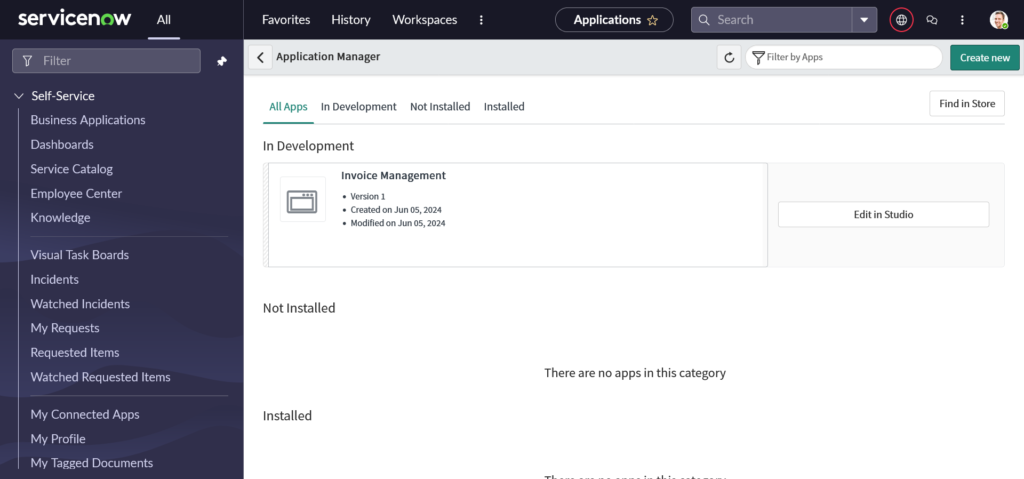
- You will see the application should have been created under “All Apps” tab.
To verify it click on the application name in the tab and you can see the details of the application record created.
Also, verify the update set by refreshing the whole page, on the header section you will find a ‘Globe’ icon on the right. Click on that and you should find the application scope and update set pointing to our application “Invoice Management”.
Open the update set by clicking on it and then clicking on the ‘Open Record’ icon above. This will show us the record. Under the record you will find a few tabs, known as ‘Related Lists’ in ServiceNow. Click on ‘Customer Updates’ and see the records created.
You will find one record with the name ‘Invoice Management’ and type ‘Custom Application’.

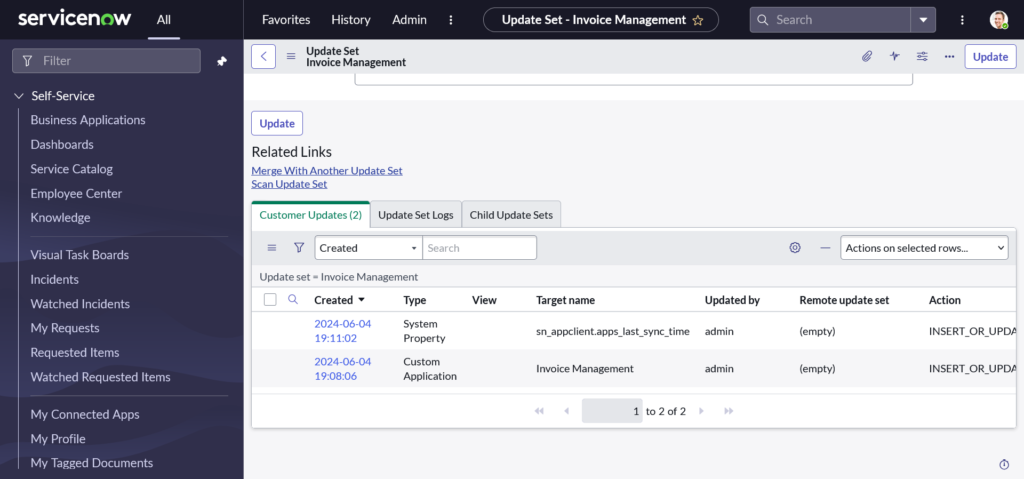
This shows that our application record has been created and is getting tracked in the update set so as to move it in other instances whenever needed.
Conclusion
Today we have seen how to create an update set and an application record. This is the first step in the process. We created an update set and then an application record. We have also verified the creation and tracking of it. In the upcoming blogs, we will start making configurations and create a data model for the application. We will keep it very simple and small.
Hope you like them.